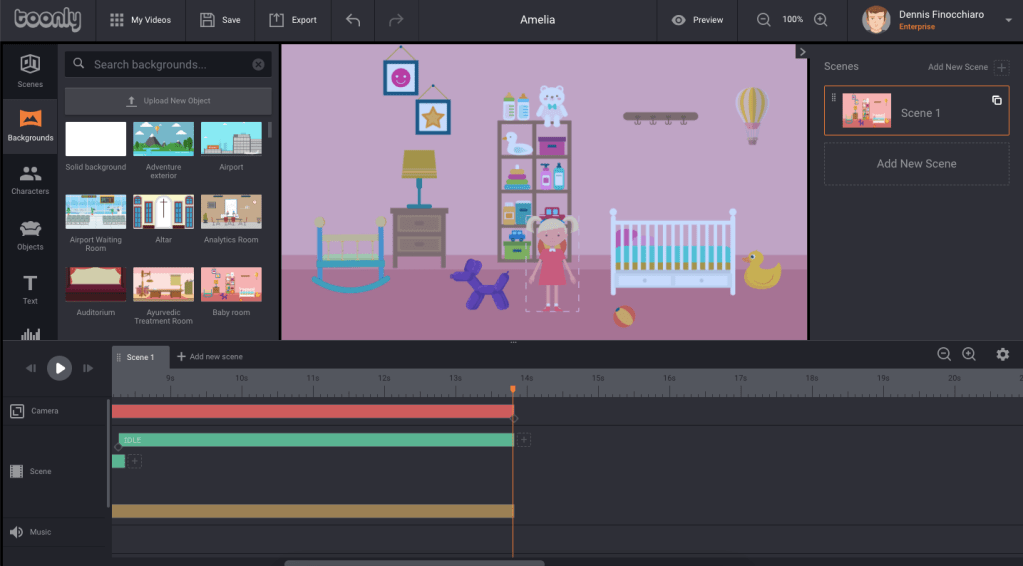
Amelia and her daddy make their first cartoon using Toonly.
Last week I downloaded the Toonly animation program to start learning how to work with it. For practice, I asked Amelia if she wanted to create a cartoon. She was into the idea.
So we made this little cartoon. She came up with the story and chose the backgrounds/characters, and we worked together tightening it up, writing the script and recording the voice overs.
It was a lot of fun, and Amelia learned a lot. She saw how much work goes into cartoons (not that this is even CLOSE to how much work goes into real ones) and also learned how many times it took her to get her lines right. She had to make choices on backgrounds, and you’ll see that at first she wanted it to be a baby’s room, but eventually made the decision to change it to a little girl’s room instead.
It was a lot of fun and she got to see a different form of the creative process: storytelling. She also learned a bit about plot, character and all of the essential parts that make up a story.
Here is the final product:
If you like it, please leave us some comments on YouTube. You can like and follow us as well, since we will probably keep making more videos. Amelia would love to hear what people think! We would also love it if you would share it. Thanks!
Amelia and I open up a science kit and explore colors.
To continue our science obsession, I pulled out a fun science kit I picked up at a yard sale. I was going to choose one of the projects it came with, but after Amelia really enjoyed mixing white and red to make pink with our crystal project, I figured I would continue with that theme.
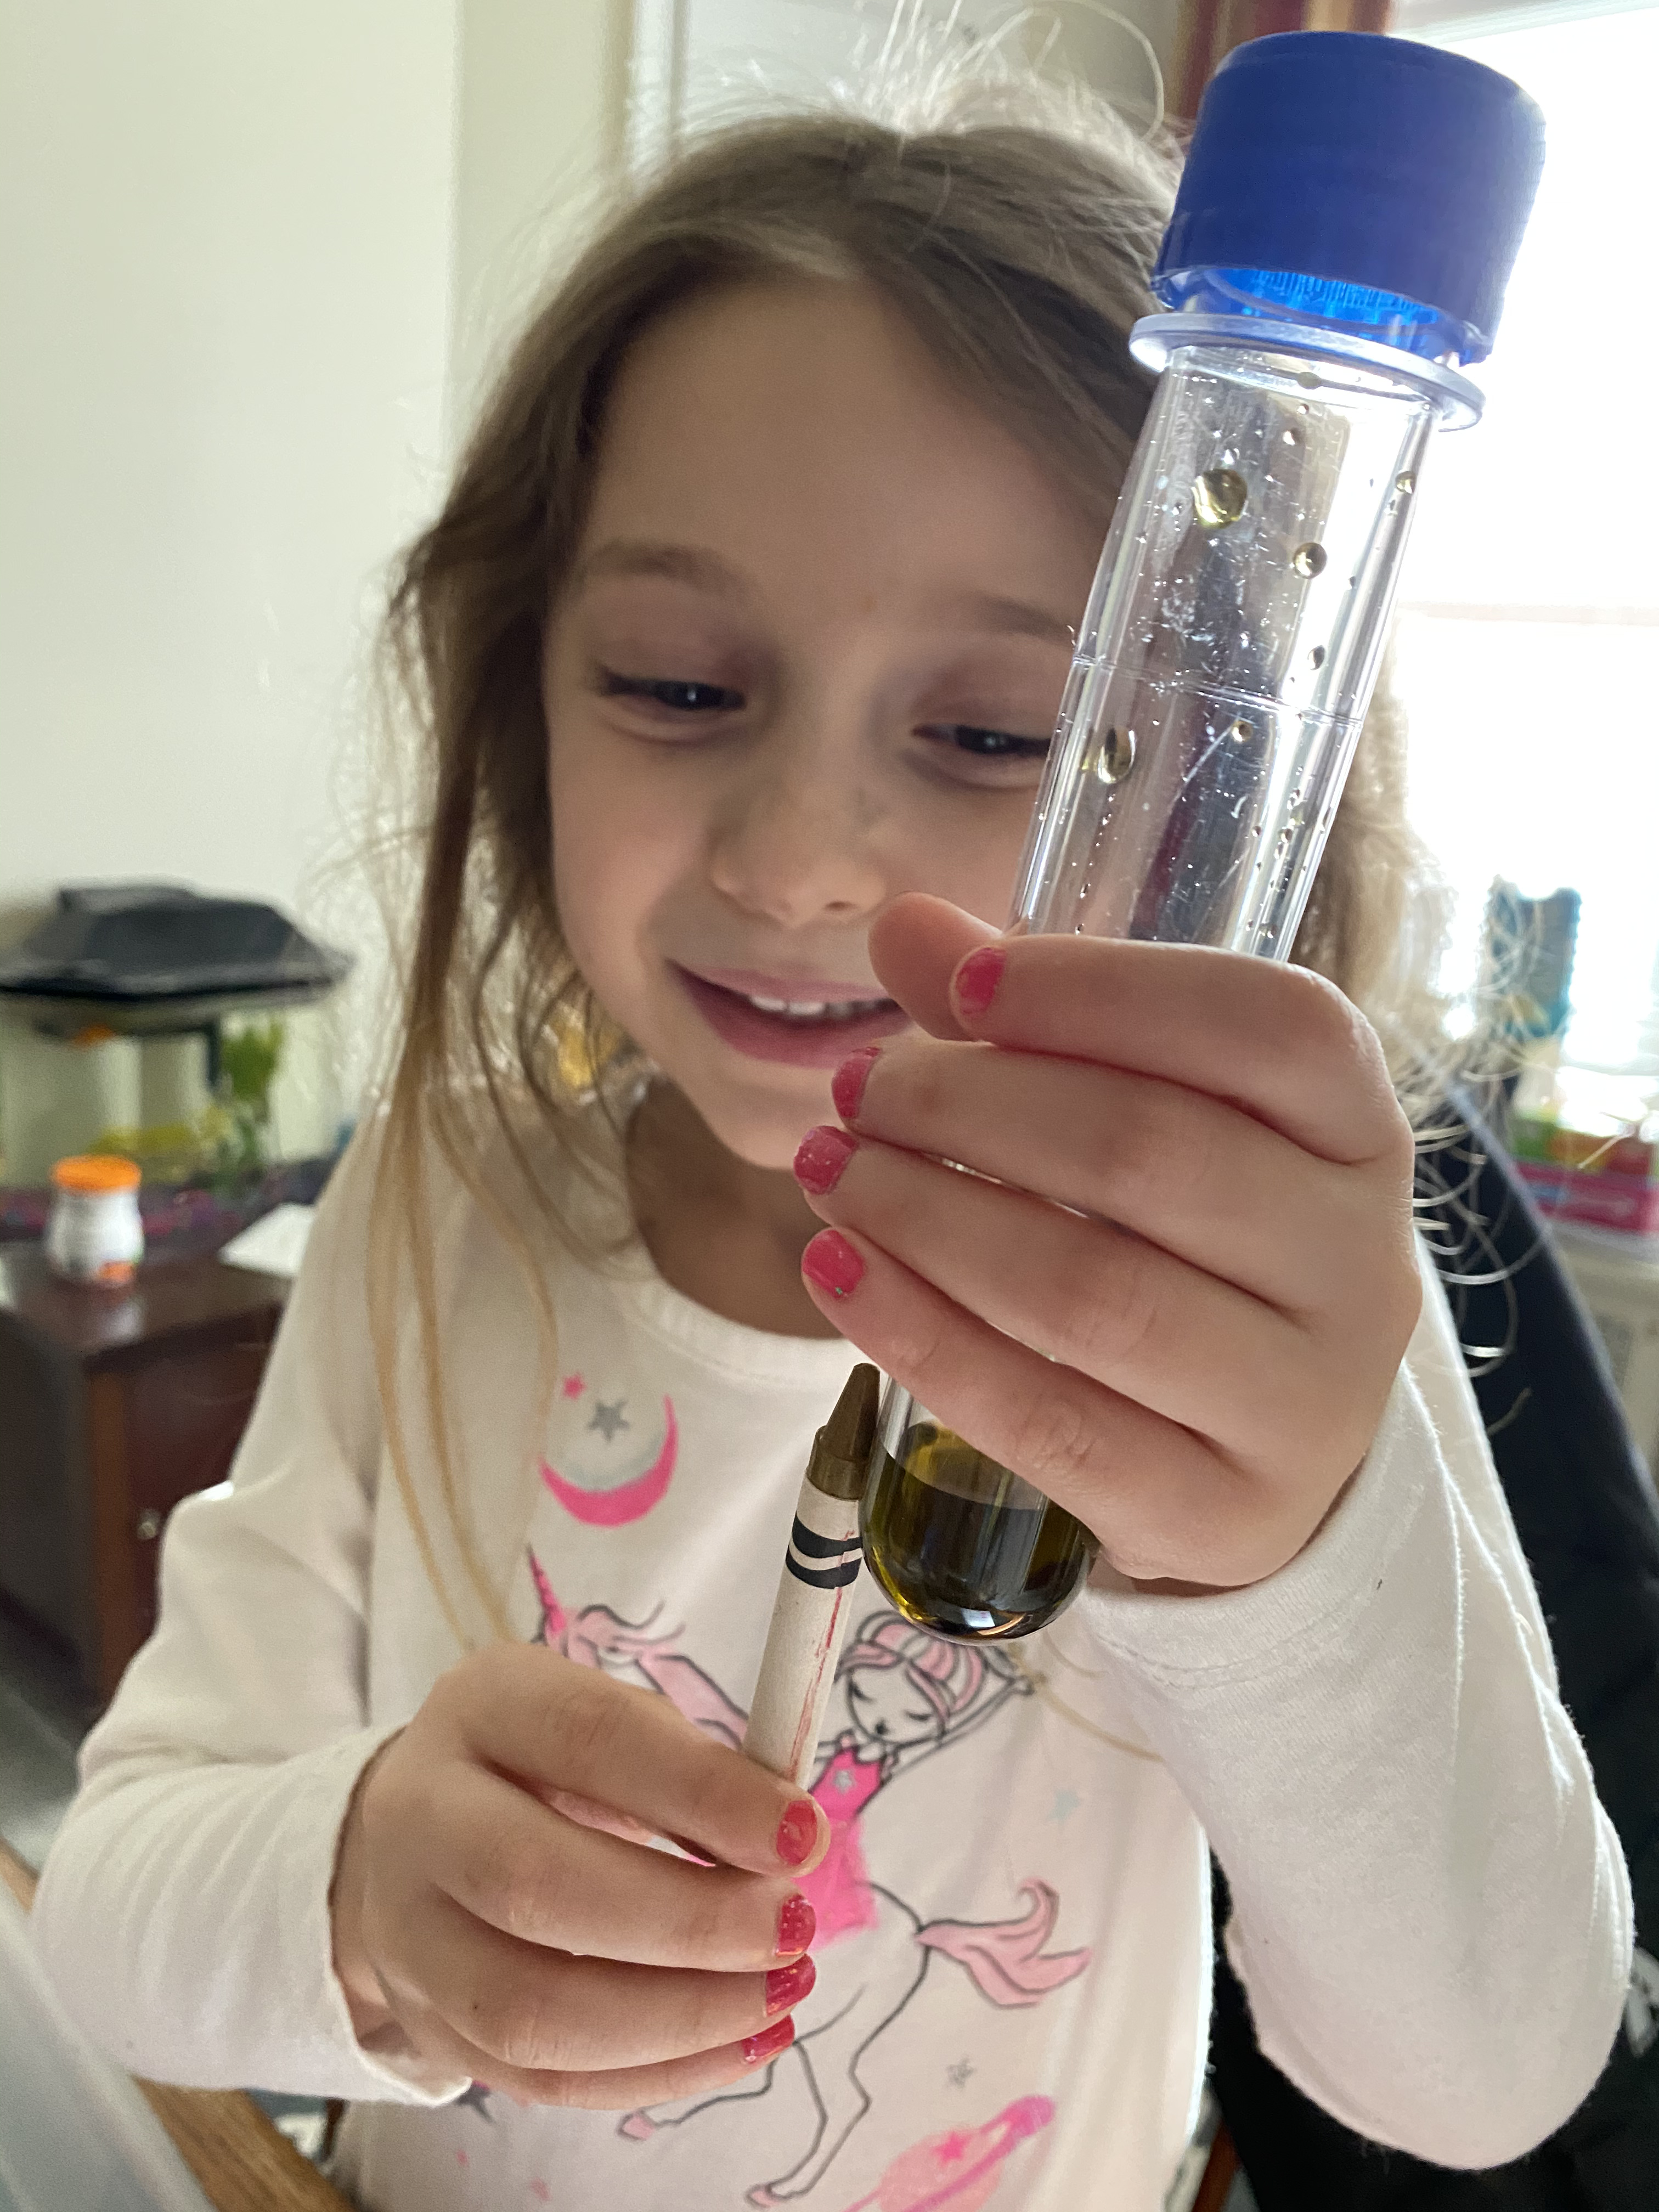
The kit I have came with a collection of kid-safe test tubes, droppers and other scientific items. So I grabbed some water, food dye of the primary colors and small bowls.
I had Amelia add two drops of each color to the bowls.
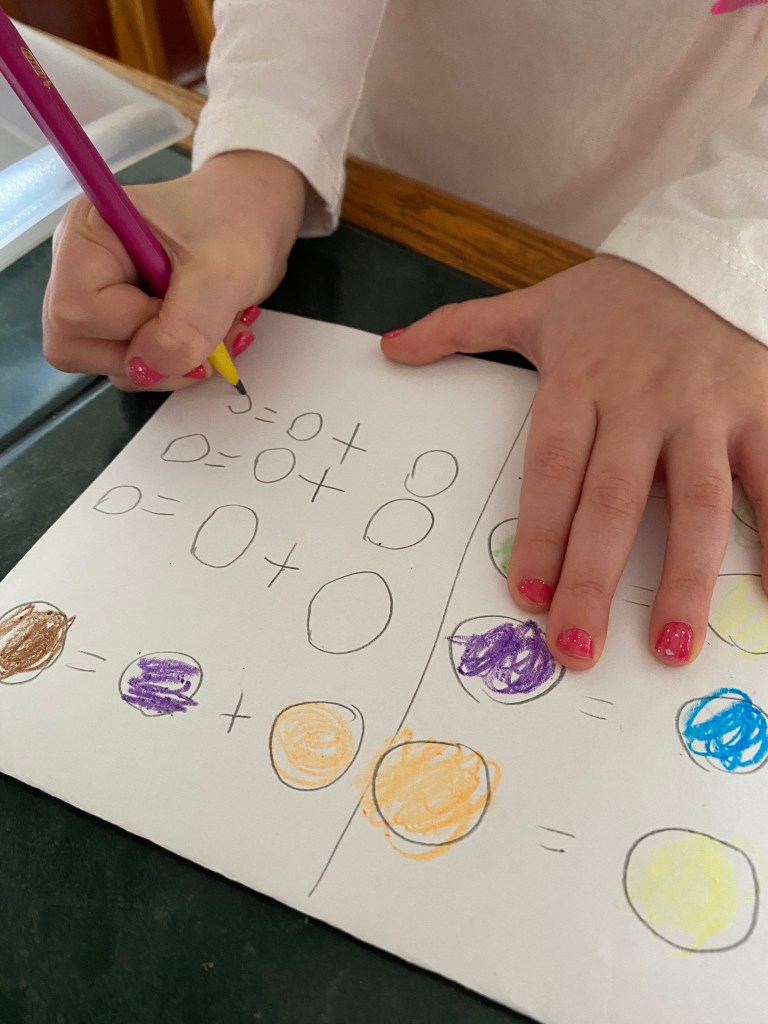
Even though she knows the color combinations from school, we started our experiment by drawing a grid that she filled out as we went along. At first it was simple, so we checked out what red plus yellow made, and yellow and blue, and so on.
I drew out circles so that she could record the results, which she also enjoyed because she felt like she was performing a real scientific study.
The grid we created to record our results.
I have to say it was a lot of fun for both of us. Amelia got such a kick out of using the test tubes and droppers.
As you can see on the grid, eventually we started mixing the new colors (secondary colors) with others to see what would happen. To be honest, most of them made a greenish-brown color. We tried to match the colors up with her Crayola Crayons as close as we could.
The bottom line is Amelia got some experience using the lab tools, and she quickly (after a minor spill) learned the importance of being careful along with proper care of the equipment. Mixing the colors proved what she had been taught in school, that yellow and blue make green, and so on. She thought that was pretty cool. It’s always good to find ways to reinforce the lessons kids learn in school.
Walden University perfectly summarizes the importance of science in the classroom . “…there are individual benefits to learning science, such as developing our ability to ask questions, collect information, organize and test our ideas, solve problems, and apply what we learn. Even more, science offers a powerful platform for building confidence, developing communication skills, and making sense of the world around us—a world that is increasingly shaped by science and technology.”
I saw a lot of this in our science experiments this week, although Amelia’s favorite part was definitely using the test tubes. My favorite was at the end when she said “Daddy, I think I want to be a scientist.” How cool is that?
SOUND OFF:What are some projects you have used with your kids that involve mixing colors? Let us know in the comments. Amelia and I are always looking for new projects.
Amelia creates her own crystals for the first time and the final crystals are AWESOME.
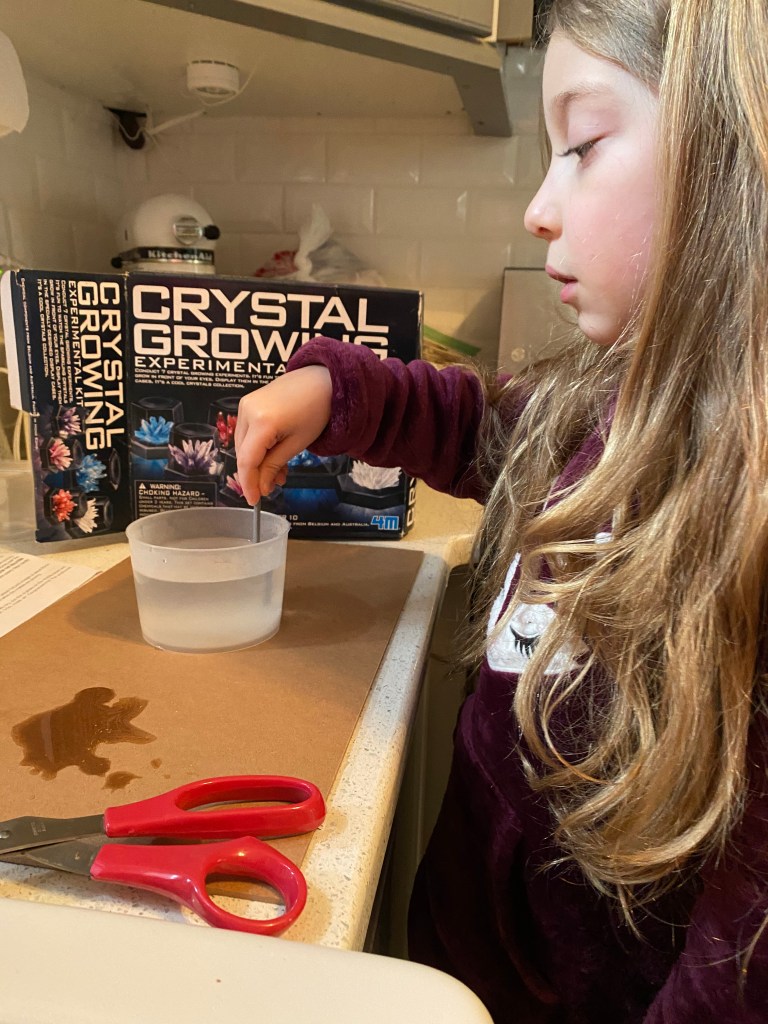
Last week, Amelia and I decided to focus on science. We started with a crystal kit. Yes, the kit is listed as 10 years old and up, but I figured we could handle it. The boiling water was probably the reason for this, so make sure you help any kiddo under ten.
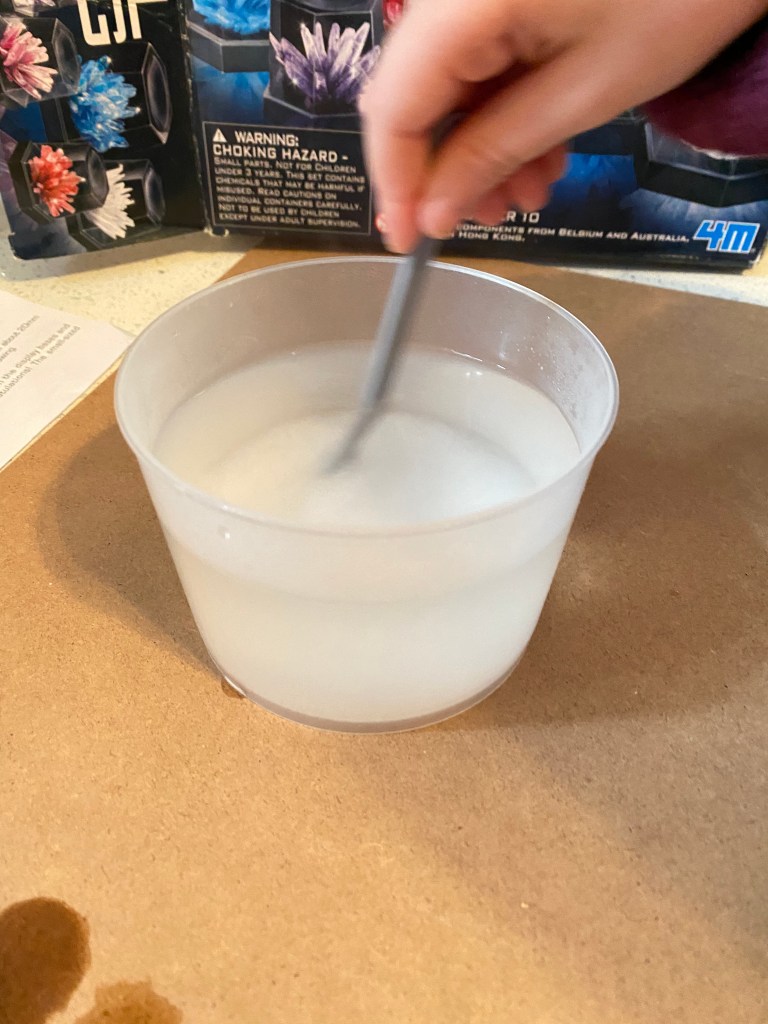
It was pretty simple. We had to boil water and measure it out. Then we added chemicals to the boiled water and stirred.
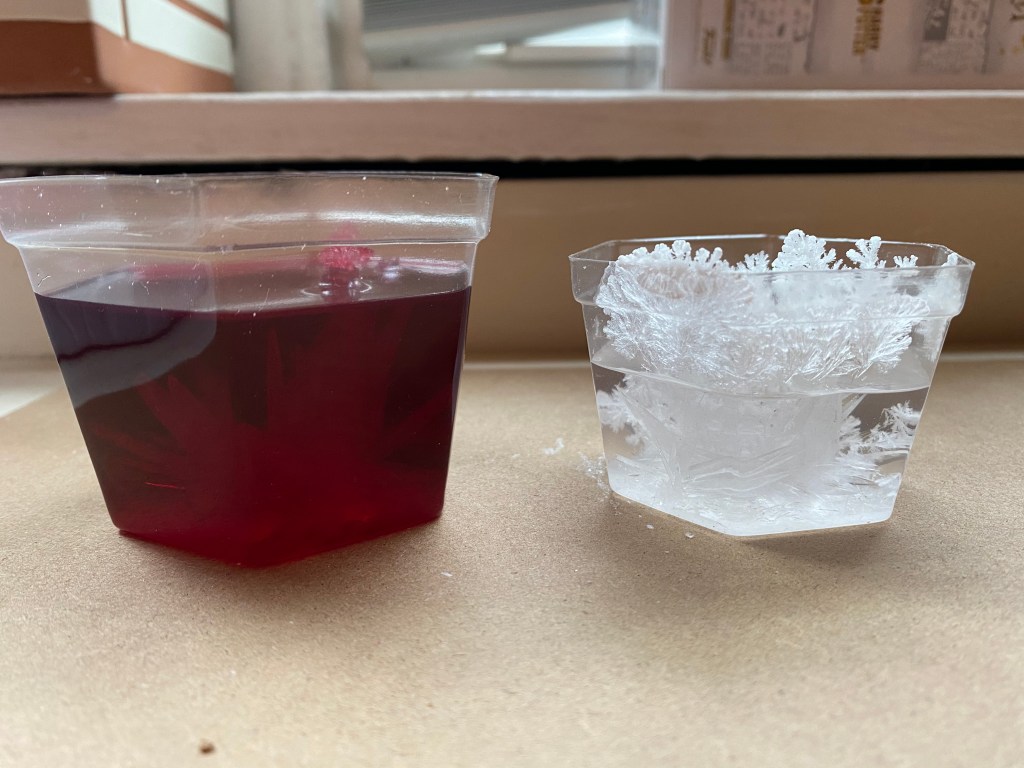
After that, we had to let it cool a bit. Then we added it to smaller cups, where the crystals would grow. The next step was to choose colors. Of course, Amelia wanted pink. So she made one pink, one white (because to make pink we had to add powder that was red and white) and I got to choose the third color. I chose red since we were already using it for the pink.
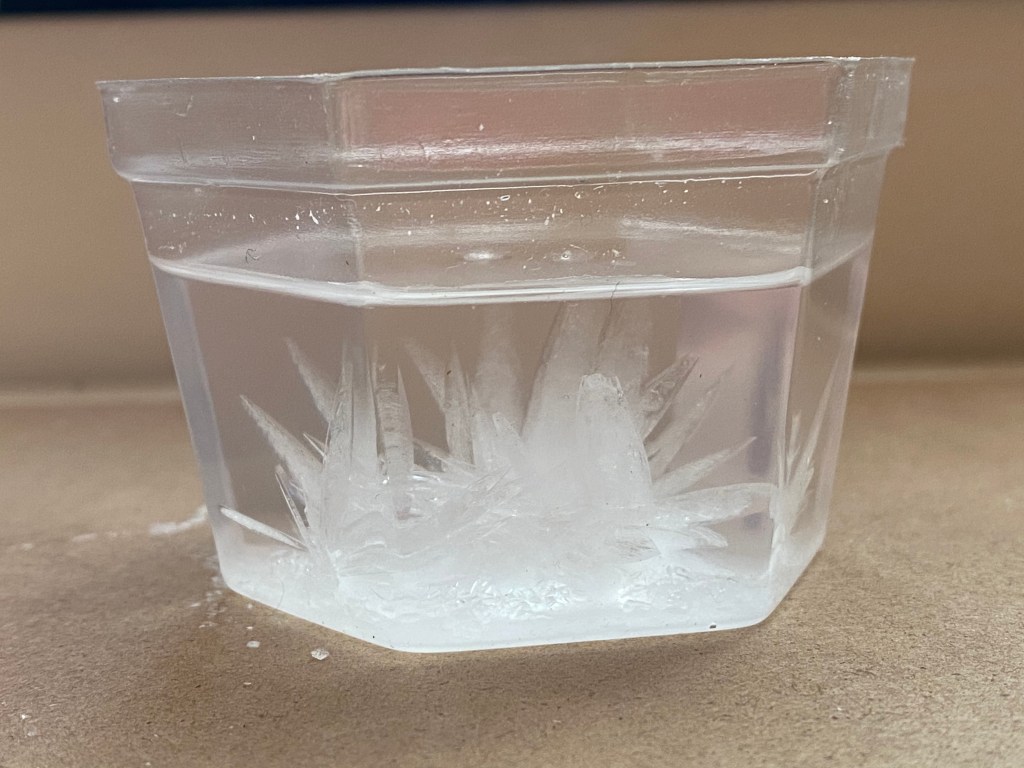
Now we just had to wait. Surprisingly, by the next morning we already had this:
And this, which is harder to see because it’s Amelia’s pink one:
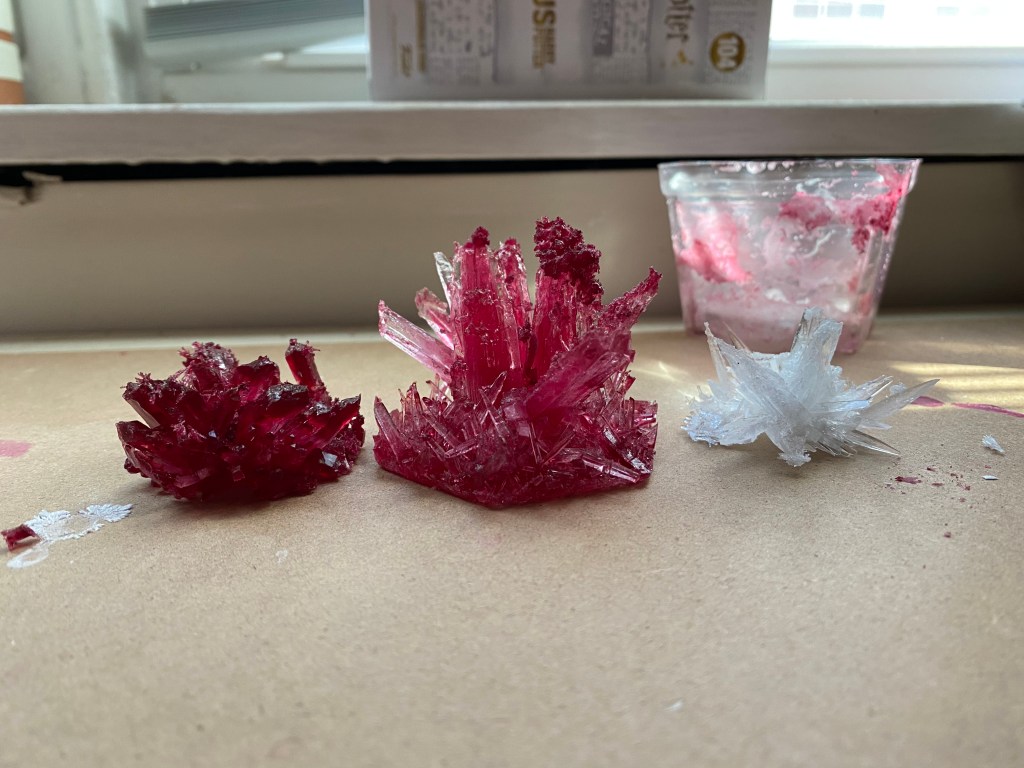
Two days later, the crystal started to grow out of the cups. After some research, this is when we should have carefully dumped the chemicals out. We didn’t, so they got a little mutated:
You can see, from the first group of photos to the second, that they started to look a little bit like coral.
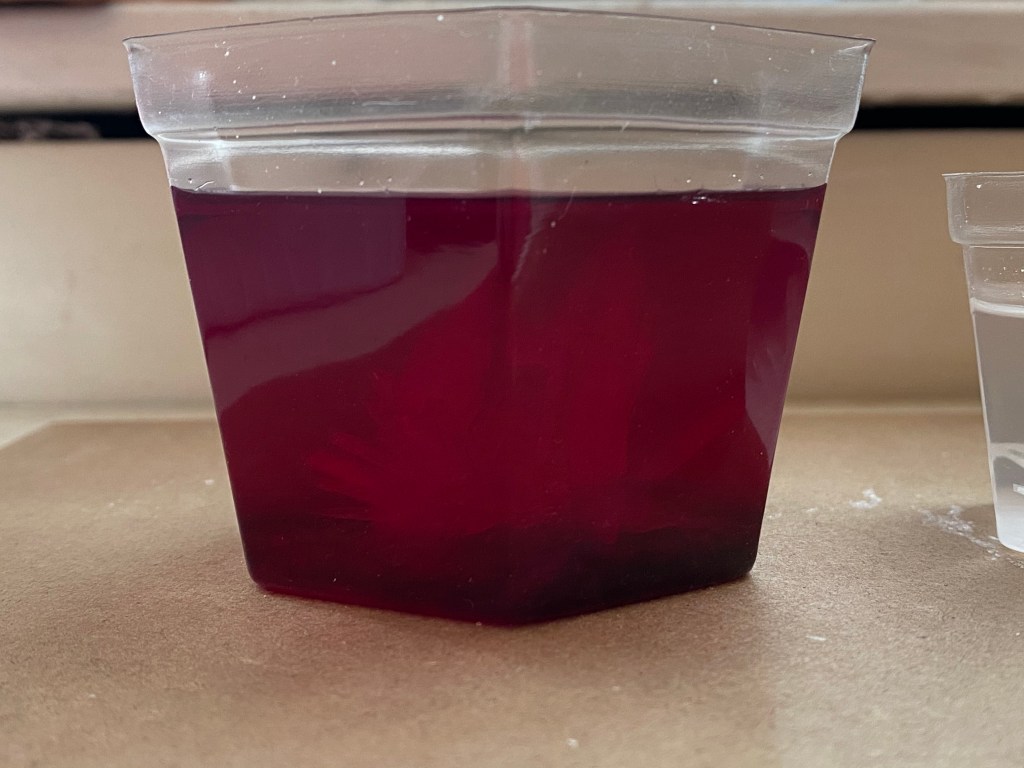
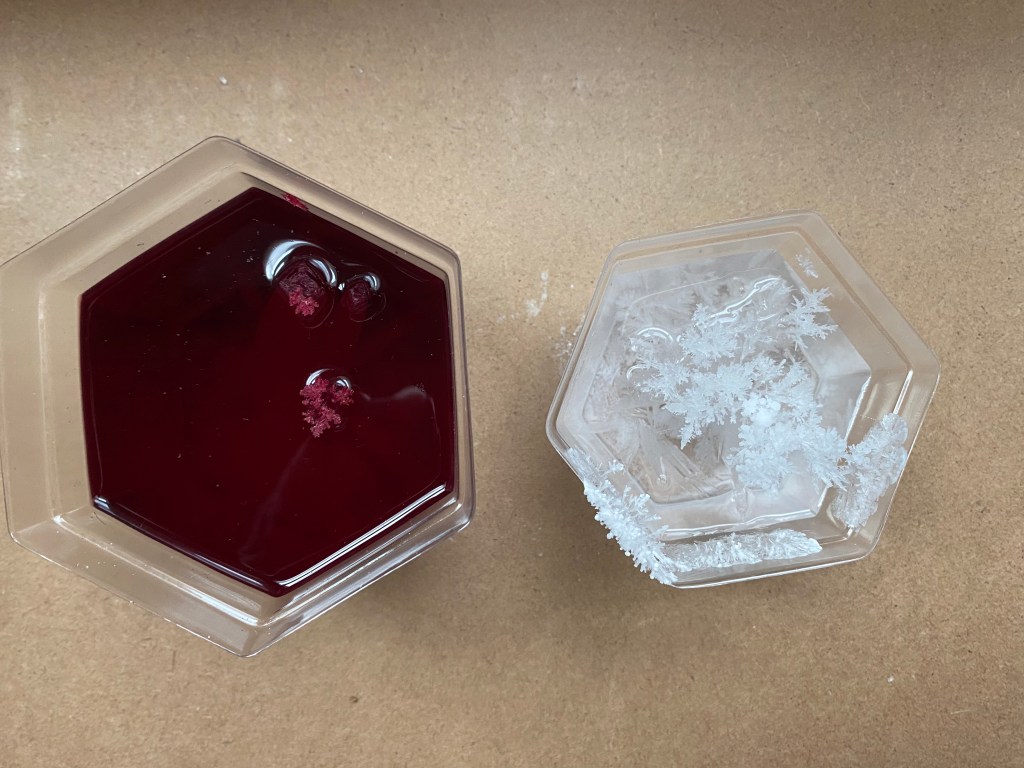
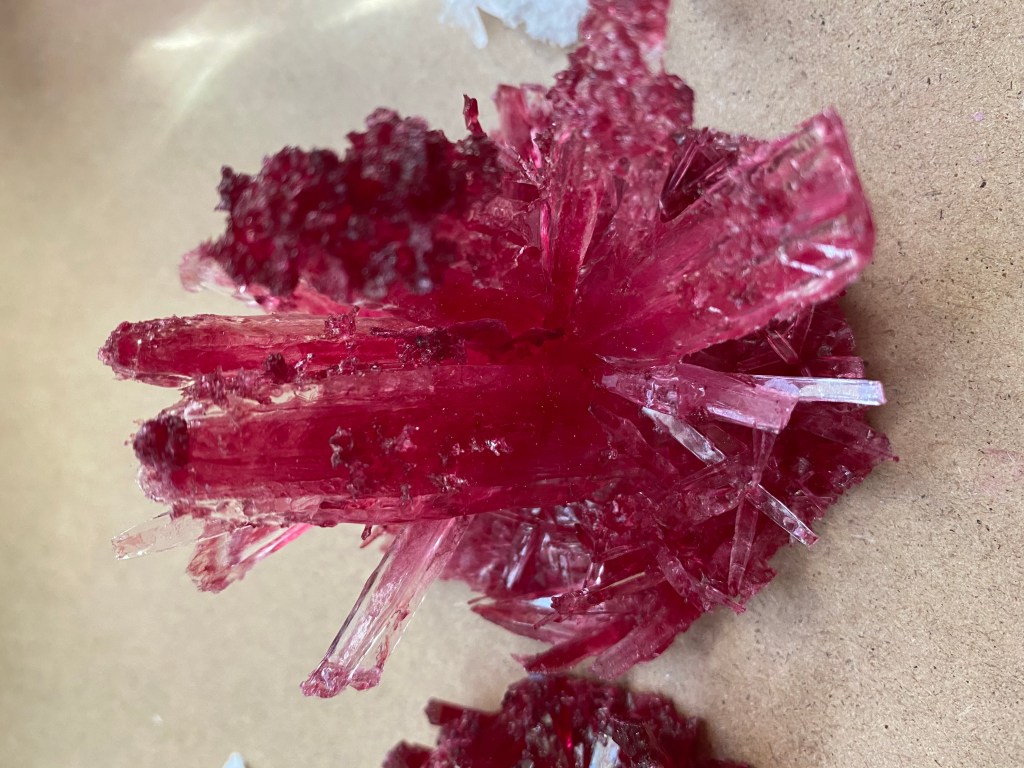
Eventually, we dumped out the liquid (and my fingers became a bit stained pink for a few days). But the final product was very cool, considering it was our first time growing them.
We wanted to know how and why this happens, so we watched this video:
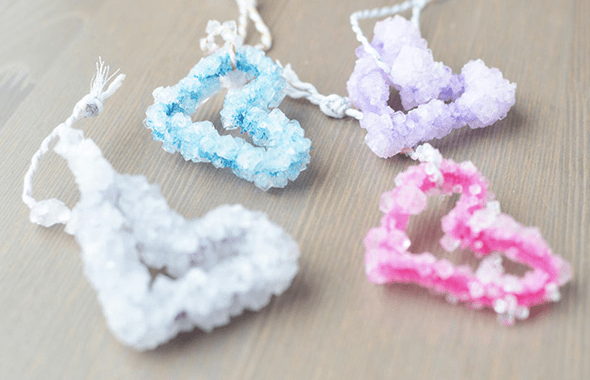
I also wish I saw this project first. Childhood 101 has a really cool project that is similar, but uses pipe cleaners shaped like hearts. I absolutely love this project and am hoping to do this one with Amelia. I think she will love it. Here is a photo of their final project:
What did we learn from this project? Measuring. We had to carefully measure the water and the chemicals that created the color. We could have also measured the crystals as they grew, and figured out their growth rate. We also had to exercise patience, knowing that the crystal would grow slowly. Honestly, I was surprised at how quickly the crystals grew. I thought it would be days before we saw any action, but after ten hours there was already a bit of formation.
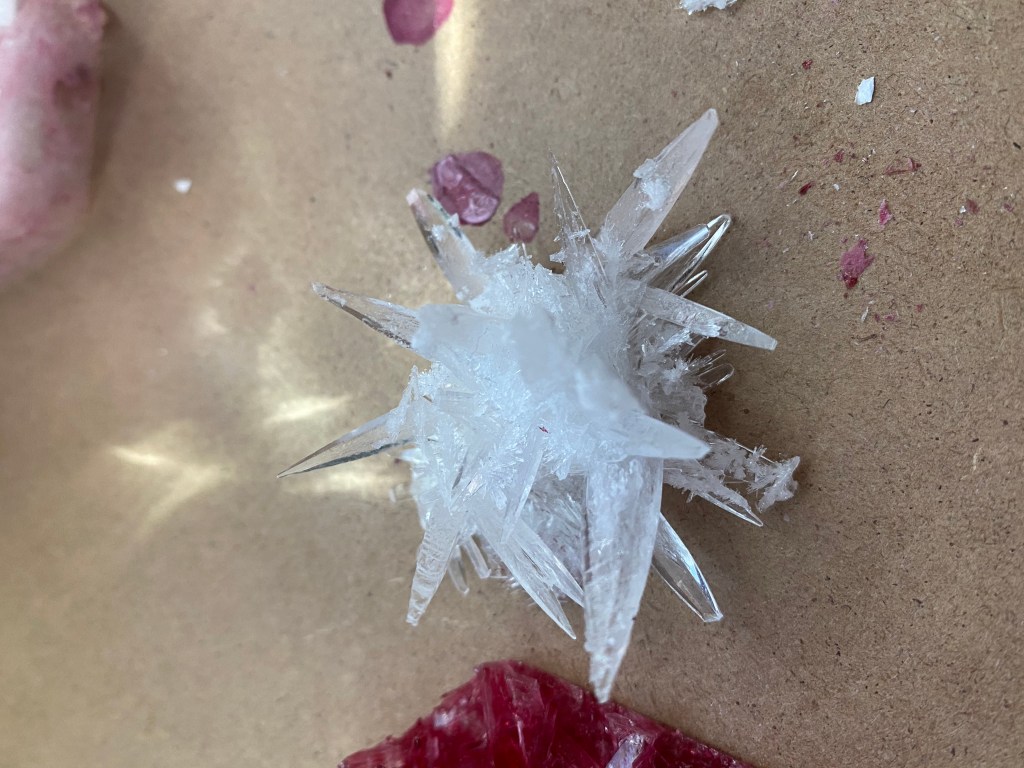
Overall, we had a last and got some really cool crystals we made ourselves. I thought the white one turned out the coolest, personally. Amelia loved her pink one. Next time we will be creating the heart-shaped ones.
Creating a Lego maze is a great little lesson involving STEM learning and motor skills.
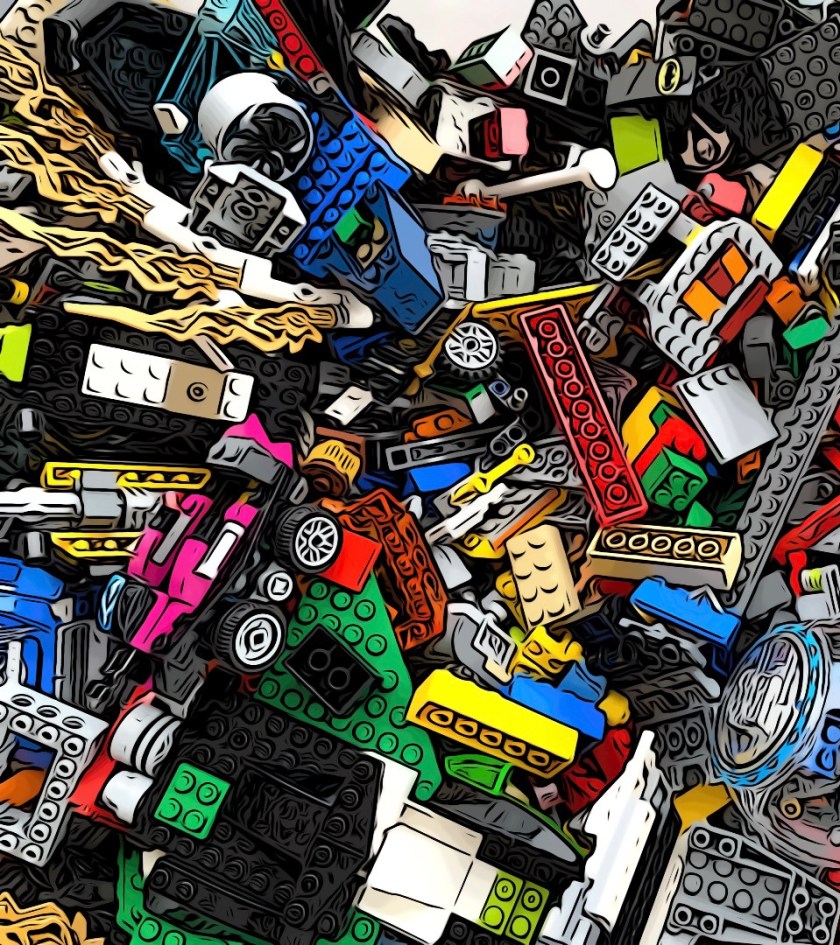
Do you have a bunch of Lego sitting around? How about a big green baseplate? (Baseplates are the large, flat pieces you build big sets on).
We are a Lego family, so it’s normal for us to have Lego in boxes all over the place. If you aren’t, Dollar Tree has some off-brand ones you can grab.
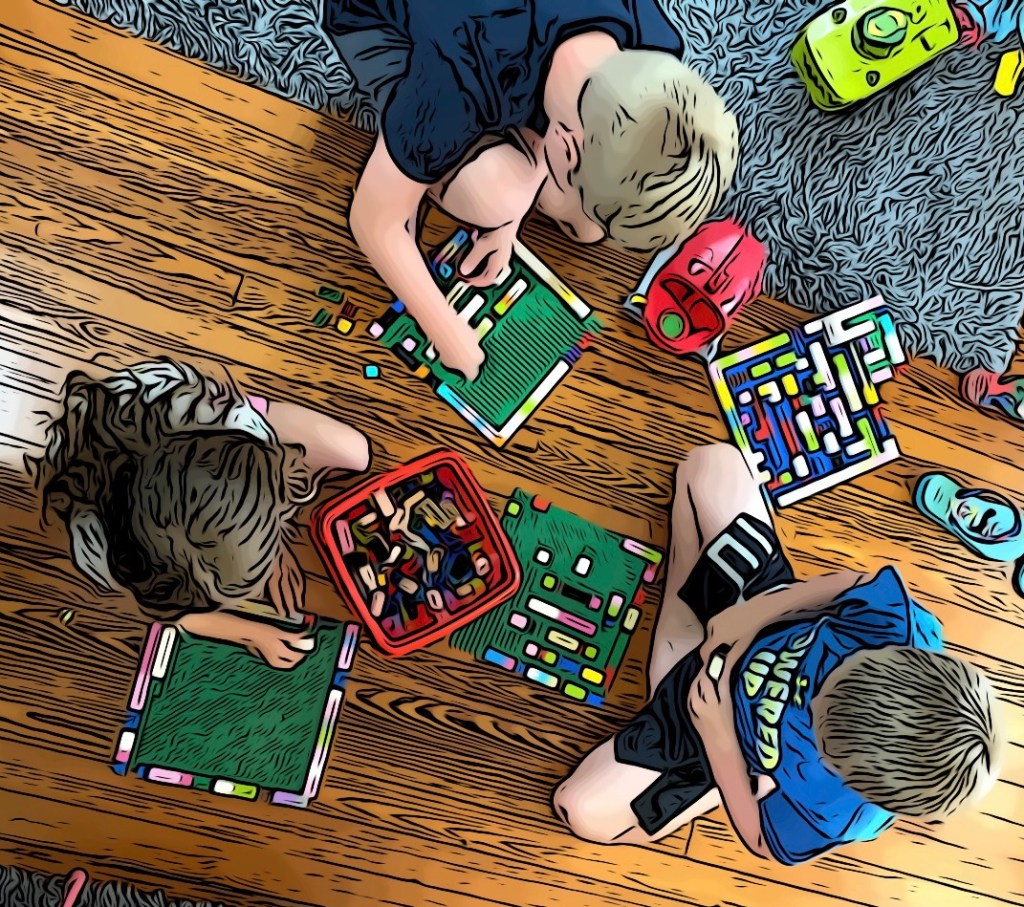
Lego was coming up with little lesson plans last April when things went South pandemic-wise, and one inspired us to create a maze using Lego bricks and a marble. Amelia and I both did it, and then when her cousins came over we all made one.
It’s simple: make a maze out of Lego bricks by placing them strategically on a baseplate. This pushed Amelia in many new ways, such as trial and error. She started putting the pieces too close for the marble to fit, so I had her test it. When the marble wouldn’t fit, she realized she had to make more space.
Then it’s about reaction and motor skills. Once we were done, we had to test our mazes, and see how hard they were, if the marble would fit everywhere, and if we remembered to make a path from the entrance to the exit.
Amelia LOVES mazes, so creating one was fun for her. She worked on motor skills, STEM skills, and we had a lot of fun. I highly recommend this one!
If you need help or inspiration, here is a video on how to do it: